
Flying Bird Drawing Tutorial
Flying bird Drawing Step by Step
There are relatively few sights more wonderful in nature than seeing a bird in flight. Many birds can take off effectively through the air. There are countless bird species that take flight consistently, and each time it happens it’s a miracle of nature. Birds can be trying to draw when they’re fixed and it can get a lot harder while they’re flying! Learn this blog and visit the our latest drawing tutorials like fluttershy drawing step by step.
Luckily, this is the associate you truly need accepting you should see how it’s done! Our step by step guide on the most capable strategy to draw in a bird 6 phases will make this drawing as simple as a bird taking off!
Stage 1 – flying bird Drawing
In this underlying step of our helper on the most capable strategy to draw a flying bird, we will use a pencil to draw a couple of disagreeable designs for the bird. The lines and the shapes will be exceptionally basic until additional notification, as we will add lots of detail in later walks of this helper.
Then, at that point, when you have these pencil outlines you can then use your pen to draw over the face and nose of the bird. While doing this, you can in like manner draw in a couple of parts like the eyes and mouth onto the nose. Exactly when you’re satisfied with how it’s looking you’ll be ready for stage 2!
Stage 2 – Start drawing some more pen detail
This second piece of your flying bird drawing will see you adding some more pen line nuances to your bird. For this part, we will focus in on a piece of the lines on the wings and besides a part of the body. For now, you can cross the truth of the bird.
You can in like manner go over the tail of the bird while adding a couple of extra fine nuances as you come.
Stage 3 – Start adding feather nuances to the wings
In this third piece of our helper on the most capable strategy to draw a flying bird, we will finish the format of the bird. By and large you will focus in on the crest tip nuances of the wings. To do this, you can use a couple of sharp, harsh lines along the wing. This will cause it to appear to be like the wings are very cushioned!
Stage 4 – Draw a couple of extra nuances inside the wings
The system of your flying bird drawing is fundamentally done now. So for the accompanying two or three stages. We will draw a couple of nuances inside the wings. Using the pencil lines that you imitated in a state of harmony 1. Mindfully draw some sharp plume lines along the line inside the wing. This will genuinely help with making a surface to the image. At the point when you have that drawn, you’re ready for the last nuances in the accompanying stage.
Visit the kids coloring printable.
Stage 5 – Finish the last nuances of your flying bird drawing
This step of our helper on the most capable technique to draw a flying bird will be connected to adding a last nuances to genuinely clean it off. These nuances will be going mainly on the wings, which you can add fundamentally more tuft nuances to.
Then, at that point, you can add any last pen lines that you could have missed an extraordinary open door from the past advances. Whenever you’ve drawn all of the pen nuances that you want for your image you can annihilate all of the pencil lines from the underlying step as you won’t need them any longer.
While you’re destroying, be cautious as some pen ink can call for a long investment to dry totally! At the point when these nuances have been added, you can in like manner add a few different parts or nuances that you would like.
A couple of contemplations you could consolidate is have one or two birds flying nearby this one. You could similarly draw in a wonderful establishment to really clean it off enjoyably! By drawing an establishment you could show what kind of weather conditions or domain this bird is flying through. You can similarly investigate pictures of various scenes as inspiration for specific establishments you could draw!
How should you put your own wind on this image before the last step?
Stage 6 – Finish your flying bird drawing with some tone
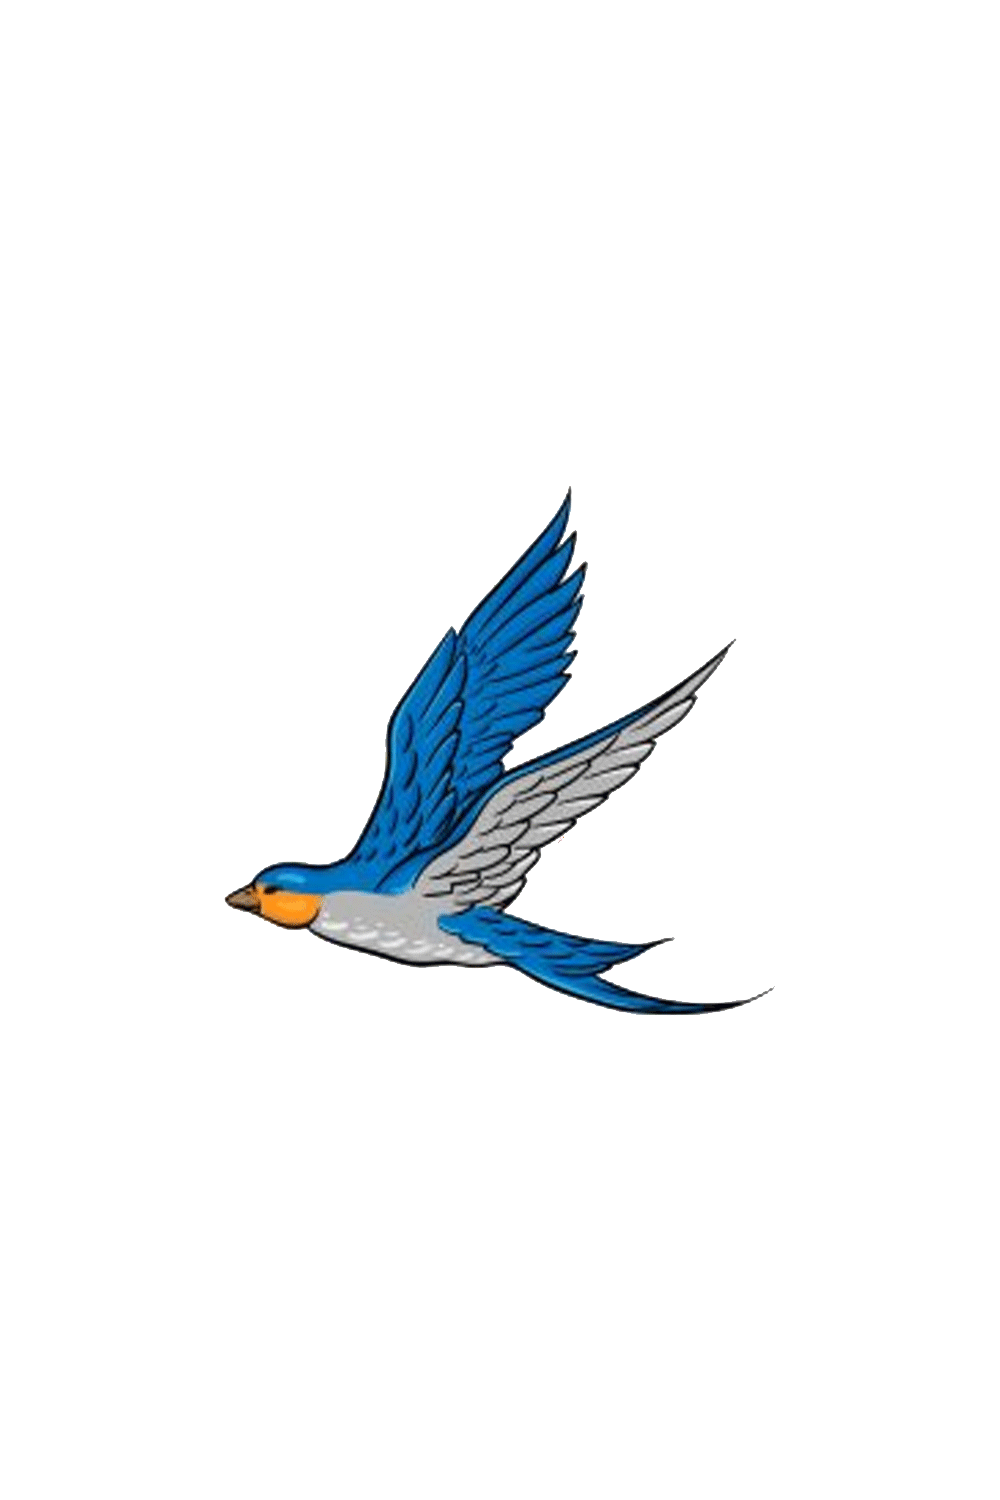
Now that you’ve finished your flying bird drawing, this present time is the best opportunity to loosen up with a horseplay concealing to really clean it off! In our model, we used blue, faint and yellow for the concealing of the bird.
While you’re concealing in your own attracting you should feel free to use any assortments that you would like for it! Birds can come in each sort of splendid and wonderful assortments so you have various options for how you can clean it off.
You could keep the assortments more stifled and faint accepting you like, or you could make it mind blowing and dynamic with colors that pop off the page! If you drew an establishment or any extra parts, you can similarly assortment those in for essentially more assortment.
Then, when you understand which colors you should use then you can pick which craftsmanship mediums and instruments you should use.
Also Read business inesiders.